Key takeaways
- Compare beam angle and distance together using a simple light-pool estimate, then check the limits of circular geometry against actual fixture data.
What's inside
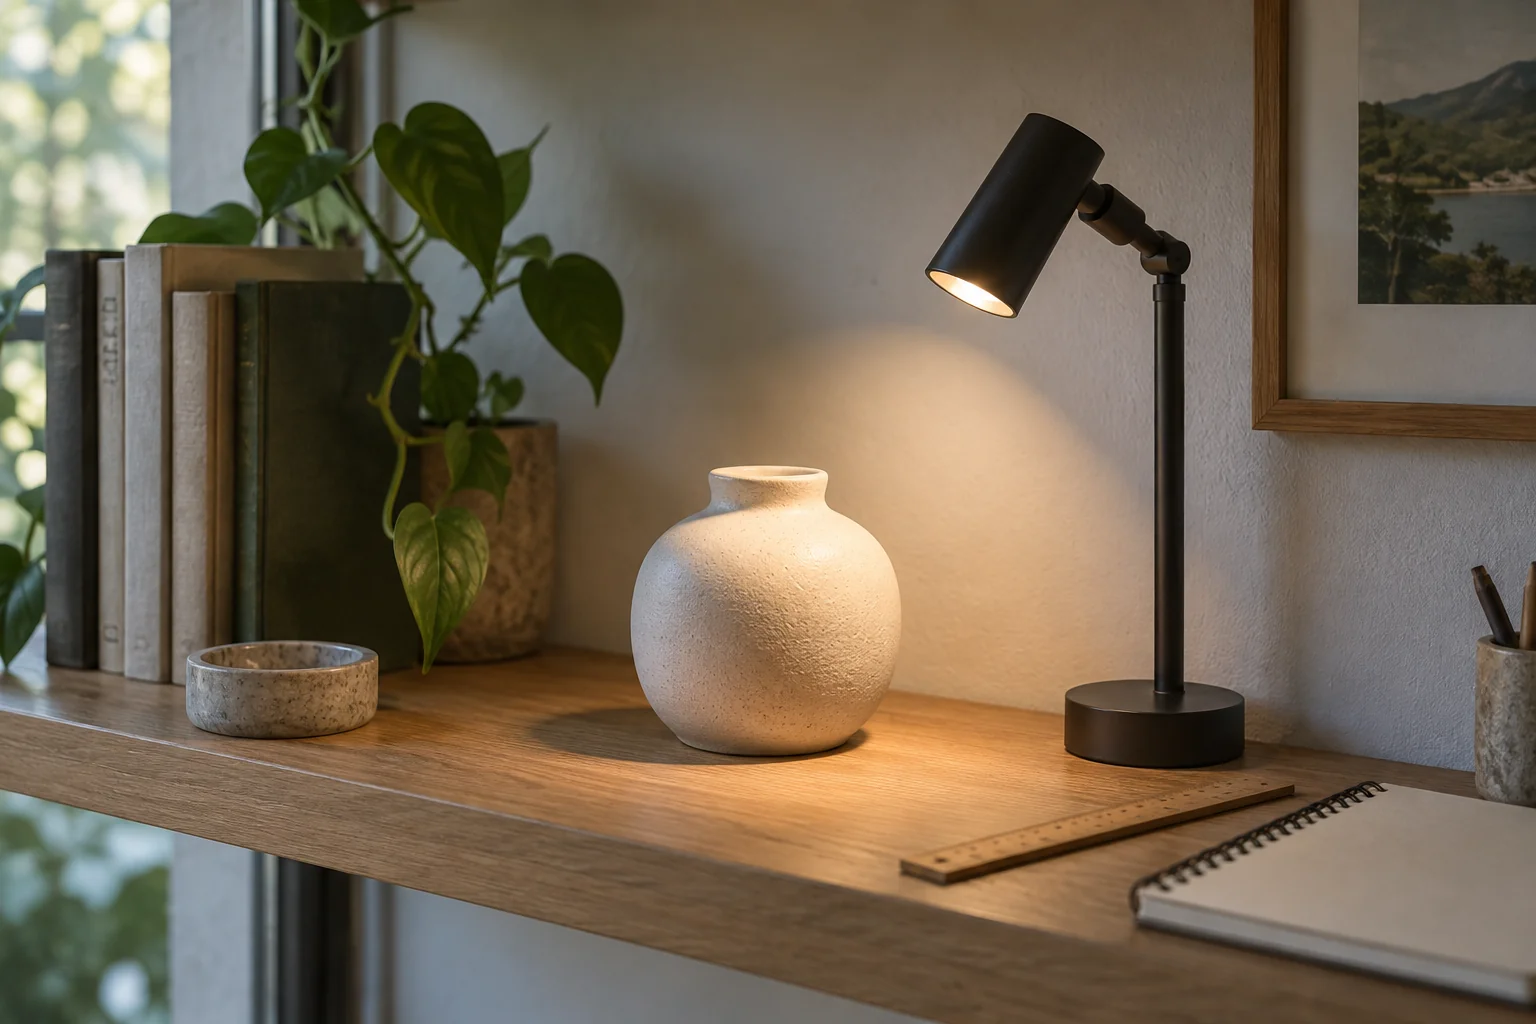
Compare beam angles for accent lighting at the distance where the light will actually be used. A number such as 24 degrees describes an angular spread, not a fixed circle on your wall. The same angle produces a larger nominal footprint farther from the lamp, so the target size and available aiming position belong in the comparison.
Start with one object or surface you want to emphasize. Record its width, height and the possible light position. Keep electrical installation and mounting decisions with the appropriate product instructions and qualified installer; this is a planning comparison, not a wiring or installation method.
Understand what the angle describes
ERCO defines emission angle using the points where luminous intensity falls to half its value in the main beam direction. Its beam-diameter explanation connects the diameter with that angle and the distance to the luminaire.
Consequently, a beam-angle boundary should not be treated as a hard edge beyond which there is no light. Nor does the angle establish that illumination is uniform inside the boundary. Those questions require the product’s actual distribution information and the proposed arrangement.
Check whether the listing describes a circular beam, an elliptical distribution or a specialized wallwashing optic. A single circular-cone estimate is not an adequate description of every light. Ask the supplier for the distribution drawing if the terminology is unclear.
Record the distance to the target
Measure or obtain the proposed distance from the light’s optical position to the target plane. Ceiling height alone may not describe that distance, particularly when the lamp points at an angle. Mark the intended position on a sketch so two candidates are compared under the same assumption.
Also identify whether the beam will meet the surface straight on or obliquely. A circular beam striking an angled surface creates a different footprint from one meeting it squarely. Use the manufacturer’s planning information or ask a lighting professional when that distinction affects the design.
Use simple geometry as an initial comparison
For an idealized circular cone meeting a flat plane at right angles, its diameter is twice the distance multiplied by the tangent of half the full angle: diameter = 2 × distance × tan(angle ÷ 2). Use consistent units and a calculator set to degrees. This is a geometric estimate, not a prediction of measured brightness.
| Illustrative full angle | Distance | Approximate cone diameter |
|---|---|---|
| 24 degrees | 2 meters | 0.85 meter |
| 36 degrees | 2 meters | 1.30 meters |
| 24 degrees | 3 meters | 1.28 meters |
The third row explains why choosing an angle without distance can mislead you. The same 24-degree cone is substantially wider at three meters than at two. These numbers illustrate the formula only; they do not recommend a fixture, mounting distance or coverage tolerance.
Compare the object and its surroundings
Draw the nominal footprint beside the target outline. Decide whether your intention is to emphasize the whole object, part of it or some surrounding wall as well. A frame and the artwork inside it are different target sizes. A textured column is different from a flat picture even when their widths match.
Note nearby surfaces you do not want emphasized, such as a reflective screen or a bright doorway. A footprint that looks suitable on paper can still create unwanted spill or reflections. Keep those observations separate from the beam-size calculation rather than assuming a narrower angle solves every issue.
A fictional shelf comparison
Imagine a 60-centimeter-wide display with a possible light position two meters away in the simplified straight-on arrangement. The calculated 24-degree diameter is about 85 centimeters, while the 36-degree diameter is about 130 centimeters. The buyer therefore asks to see the narrower candidate’s distribution and a demonstration of spill around the display.
They do not conclude that the smaller beam is automatically better. The actual optic may produce a center emphasis they dislike, or the wider effect may suit the surrounding shelf. The calculation reduces an oversized shortlist to relevant questions; it does not replace observing the intended effect.
Save the assumed distance beside every calculated diameter. If the installer later moves the light, recalculate before ordering a different optic. Also keep the full-angle convention visible: entering the whole angle where the formula requires half the angle would produce a very different answer.
Keep brightness and beam width separate
Record output and dimming information alongside the angle. Two products sharing a nominal angle can differ in intensity, edge softness and visual comfort. Avoid comparing photographs taken with different exposure settings as if they were controlled performance measurements.
Before purchasing, send the supplier the target dimensions, intended light position, aiming direction and desired emphasis. Request the relevant distribution data and clarify any adjustment range. Where possible, evaluate a properly installed sample under normal room lighting. Your final choice should describe both the footprint you want and the conditions under which it is expected to work.