Key takeaways
- Compare paint sample formats with a worksheet for color identity, coating, sheen, preparation and a controlled side-by-side viewing check.
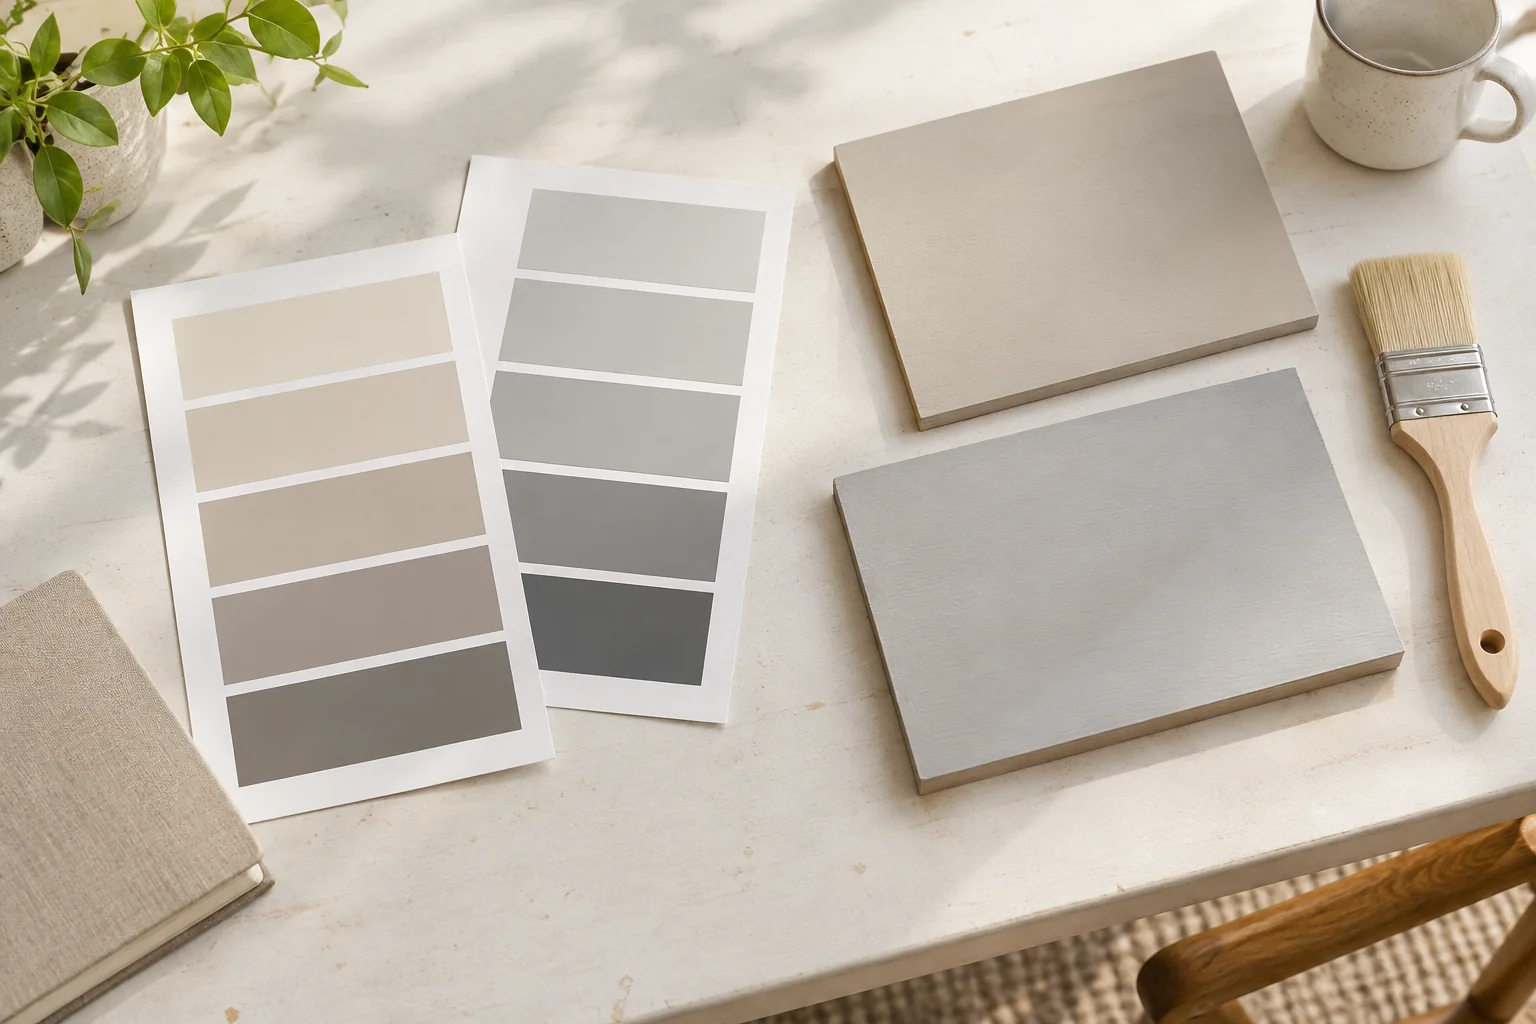
Compare peel-and-stick paint samples with painted boards by matching the color identity first, then recording the surface, coating and sheen represented by each. Put them in the same position under the same light. If they look different, investigate the sample formats before deciding that the color itself is wrong.
A removable sample is convenient for narrowing a shortlist. A prepared board can answer a different question: how a particular coating looks on a particular support. Neither automatically reproduces every detail of the finished wall. The worksheet below keeps those decisions separate.
Give every sample a complete identity
Record the brand, full color name and code from the package rather than handwriting a familiar name from memory. Add the sample supplier, format and date. Two samples called “warm white” are not a matched comparison unless they represent the same specified color. A cross-brand match should be marked as a match request, not treated as the original formula.
Sherwin-Williams distinguishes color chips, peel-and-stick samples and brush-on Color To Go samples. Its Color To Go product page lists satin as the sample sheen. That is a useful reason to write down the finish: a satin sample does not settle how an intended matte coating will reflect light.
Keep the packaging until the decision is complete. It may identify a sample more precisely than the front of the sheet. Photograph identifying information for your private project record, but do not use the photograph as the final color comparison.
Make a comparison sheet before painting
| Record | Peel-and-stick sheet | Painted board |
|---|---|---|
| Color identity | Brand, name, code, supplier | Brand, name, code, tint label |
| Visible surface | Sample finish as stated | Paint line and sheen |
| Support | Backing and permitted application surface | Board material and preparation |
| Preparation | Supplier application directions | Primer if specified, coats and drying directions |
| Viewing setup | Position and orientation | Same position and orientation |
| Question answered | Color shortlist | Color plus recorded coating/support combination |
Use “not stated” where information is unavailable. Do not fill gaps by assuming all sample sheets use the final paint line or that every board accepts paint without preparation. Ask the supplier before ordering if those details determine whether the sample can answer your question.
Make the visible areas reasonably comparable. A large board beside a tiny patch creates another difference that can influence your preference. You can mask the surrounding view with a separate neutral card without altering the sample itself. Keep identifying labels outside the comparison area.
Control preparation and placement
Choose a board suitable for the coating and follow the coating and board preparation instructions. Record what you actually did, including any primer and the number of coats. Allow the specified drying time before evaluating. An unfinished wet patch is not a useful counterpart to a dry sample sheet.
Support both samples upright, as the eventual wall will be. Start beside one important fixed element, such as the floor or trim. Observe them together, then exchange their positions. If the preference follows the position rather than the sample, a shadow or nearby colored surface may be influencing the comparison.
Follow the sheet supplier’s attachment and removal instructions. Do not assume a removable sample is suitable for freshly painted, fragile or textured finishes. A separate supported display can help when direct attachment is inappropriate, provided the supplier permits that use. Do not put adhesive on the painted face of the comparison board.
Worked example: a difference that needs a better test
In this fictional example, a household compares a peel-and-stick neutral with a board painted in the same named color. Both look acceptable straight on, but the board looks noticeably shinier from the doorway. The record shows a satin sample coating while the planned wall finish is matte.
The household does not conclude that one supplier has the wrong color. It records “appearance differs at an angle; finish differs or is not confirmed.” The next step is a confirmation sample using the intended matte paint and suitable preparation. That resolves the coating decision more directly than buying a third unrelated sample format.
Suppose the matte confirmation still looks unsuitable next to the floor. The color can then be rejected for that room with a clearer reason. The household has not measured manufacturing accuracy, and the example is not a paint test or a claim that one format is always superior.
Use the result to choose the next purchase
Finish with a decision sentence: “Keep this color on the shortlist,” “confirm the final coating,” or “reject beside the existing floor.” A useful record names the remaining uncertainty. Repeating a general preference score does not explain whether you need another color, another sheen or better preparation.
Once the format differences are understood, use the same selected samples for a separate check across the room’s normal lighting conditions. Keep that lighting exercise distinct from this comparison. Before ordering the main quantity, confirm the final color, product line and sheen together; a successful sample choice alone does not specify the complete painting system.