Key takeaways
- Use a four-session log to compare paint samples beside your flooring, trim and furniture before choosing a final color.
Compare paint samples in the same positions during the morning, afternoon and evening, using the lights you normally switch on. Record what changes beside your permanent flooring, trim and furniture. The most useful result is a color you like during the hours you use the room, not the sample that wins in one sunny photograph.
Make the comparison about one decision
Write down the surface you are choosing: all living-room walls, a single accent wall or the ceiling. Then name the things that will remain. A cream sofa, oak floor and bright-white trim are three separate neighbors for the new color. Put their names on the worksheet so a pretty sample does not distract you from a combination you dislike.
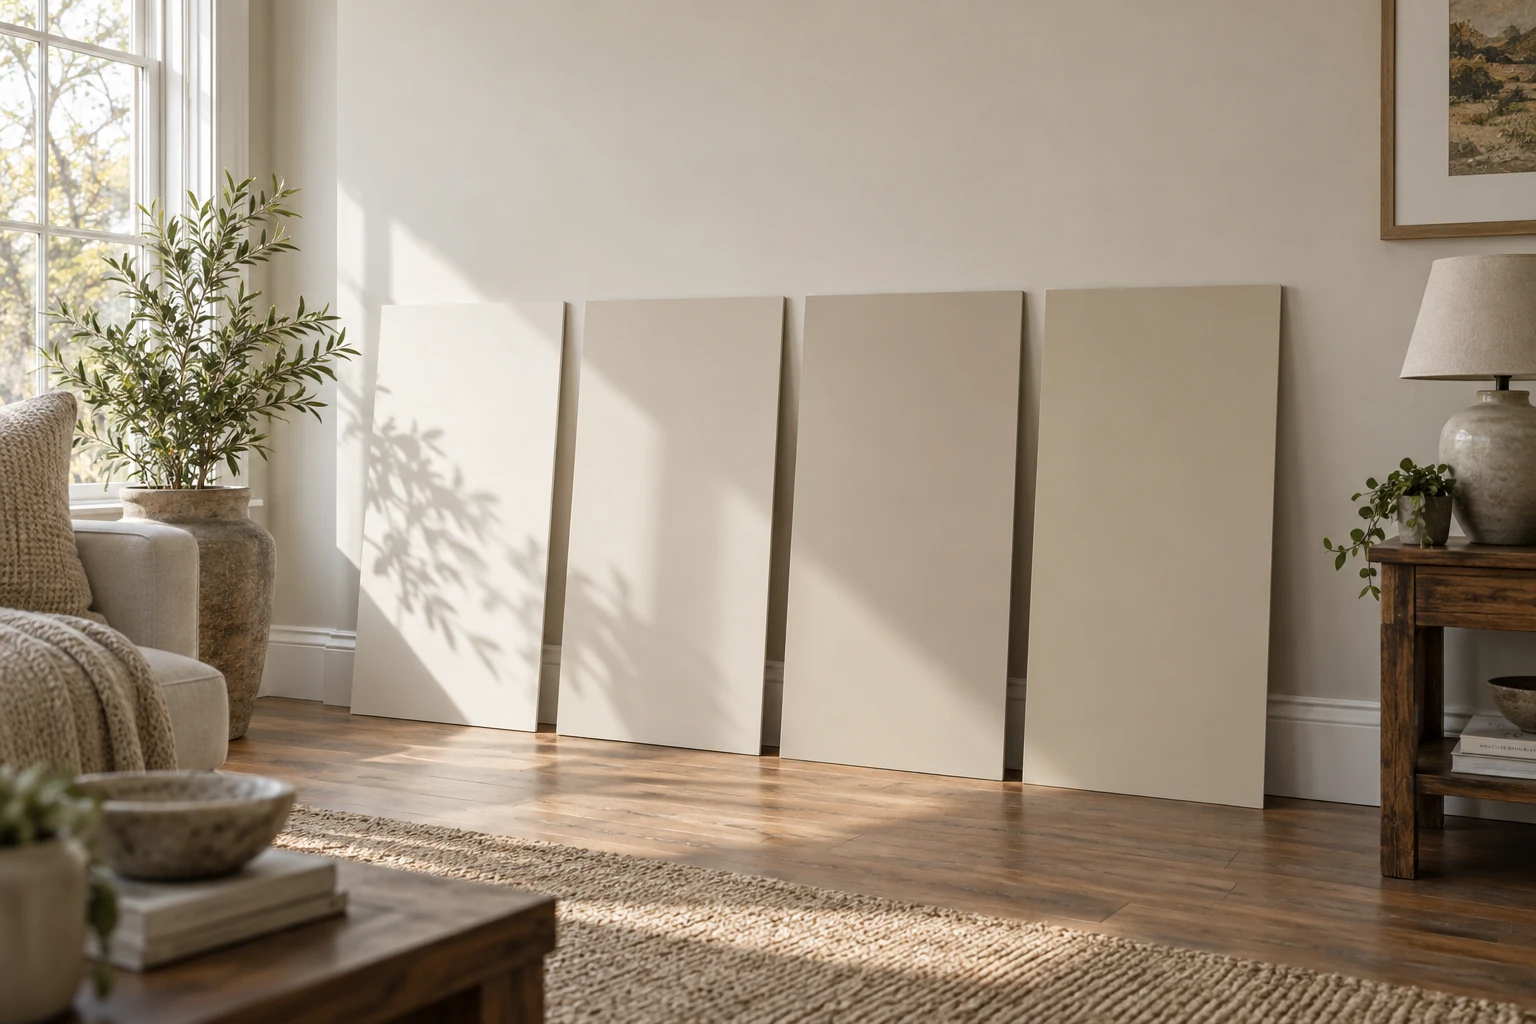
Reduce the initial set to a manageable shortlist, such as three candidates. Label each with its brand and complete color name or code. Add the sample format and finish. Comparing a tiny chip with a large painted board makes it harder to know whether you prefer the color or are responding to the presentation.
Prepare samples that can move without losing their identity
Benjamin Moore’s sampling guidance recommends at least two coats for its liquid samples and suggests white foam-core boards that can move around the room. It also recommends viewing samples from morning to evening under natural and artificial light. Its liquid sample product is for color evaluation, not the final coating; the listed sample finish is eggshell.
Use your chosen sample product’s preparation and drying directions. Mark the back of each board and a small edge that remains visible. If you plan a different final paint line or sheen, write that beside the sample identity. A good color result does not establish how the finished coating will look or perform on the actual wall.
Choose two or three repeatable locations: near the window, opposite it and beside an important fixed surface. Keep samples upright in the orientation of the intended surface. Use a removable attachment method appropriate for the wall and sample, or support the board securely without marking the finish.
Use a four-session observation log
| Session | Conditions to note | Observation prompt |
|---|---|---|
| Morning | Time, weather, curtains, lights off/on | How does it relate to trim and floor? |
| Midday | Same position; note direct sun or shade | Does the contrast still suit the room? |
| Late afternoon | Time and window covering position | Any color relationship you dislike? |
| Evening | Usual lamps and ceiling lights | Would you enjoy this during the room’s main activity? |
Use descriptive notes rather than a numerical score alone. “Looks pink beside the rug with the floor lamp on” is easier to act on than “6/10.” If the room is used mainly after work, give the evening observation more influence. This is a household preference decision, not an instrument-based measurement of paint accuracy.
Keep position changes separate from lighting changes
First observe all candidates at one position in each session. Then move them together to the second position. Keep their order consistent, or photograph the labels so you can reconstruct it. If you move only your favorite toward the window, you have changed two things at once and cannot tell which explains the result.
View each finalist alone as well as beside the others. A sample may appear acceptable relative to a much darker option but feel wrong next to the actual trim. Keep a neutral border around small chips if the existing wall color overwhelms the comparison. Avoid covering so much of the wall with competing samples that you can no longer picture the room.
Worked example: choosing for an evening living room
In this illustrative example, three pale neutrals—A, B and C—are compared beside a blue sofa and warm wood floor. A is the favorite in morning light. At night, the household repeatedly dislikes how A relates to the rug. B is acceptable in all four sessions and preferred when reading under the usual lamp. C is liked by the window but feels too dark on the opposite wall.
The next step is a larger confirmation sample of B at the difficult opposite-wall position, using the intended final paint product and sheen where practical. The household keeps the lighting arrangement unchanged during that check. The decision is not “B is the best neutral”; it is “B meets this room’s stated priorities more consistently.”
Use photos as records, not the final judge
Photographs help remember where a sample stood and which lamp was on. They are less useful for settling a subtle color disagreement. Camera processing, screen settings and changing exposure can make the same wall look different between images. Include a written observation made in the room and do not choose a final color from an edited phone photo alone.
If two candidates remain close, repeat the most important session on another day and ask each household member to write a preference before discussing it. Record the remaining uncertainty: perhaps the curtains will change or the new sofa has not arrived. Resolve that dependency before buying the full quantity. Your final record should identify the color, coating, sheen and conditions under which you approved it.