Key takeaways
- Compare decorative trays using flat inside dimensions, rim shape and real object footprints, with a practical worksheet and clearly labeled fit example.
What's inside
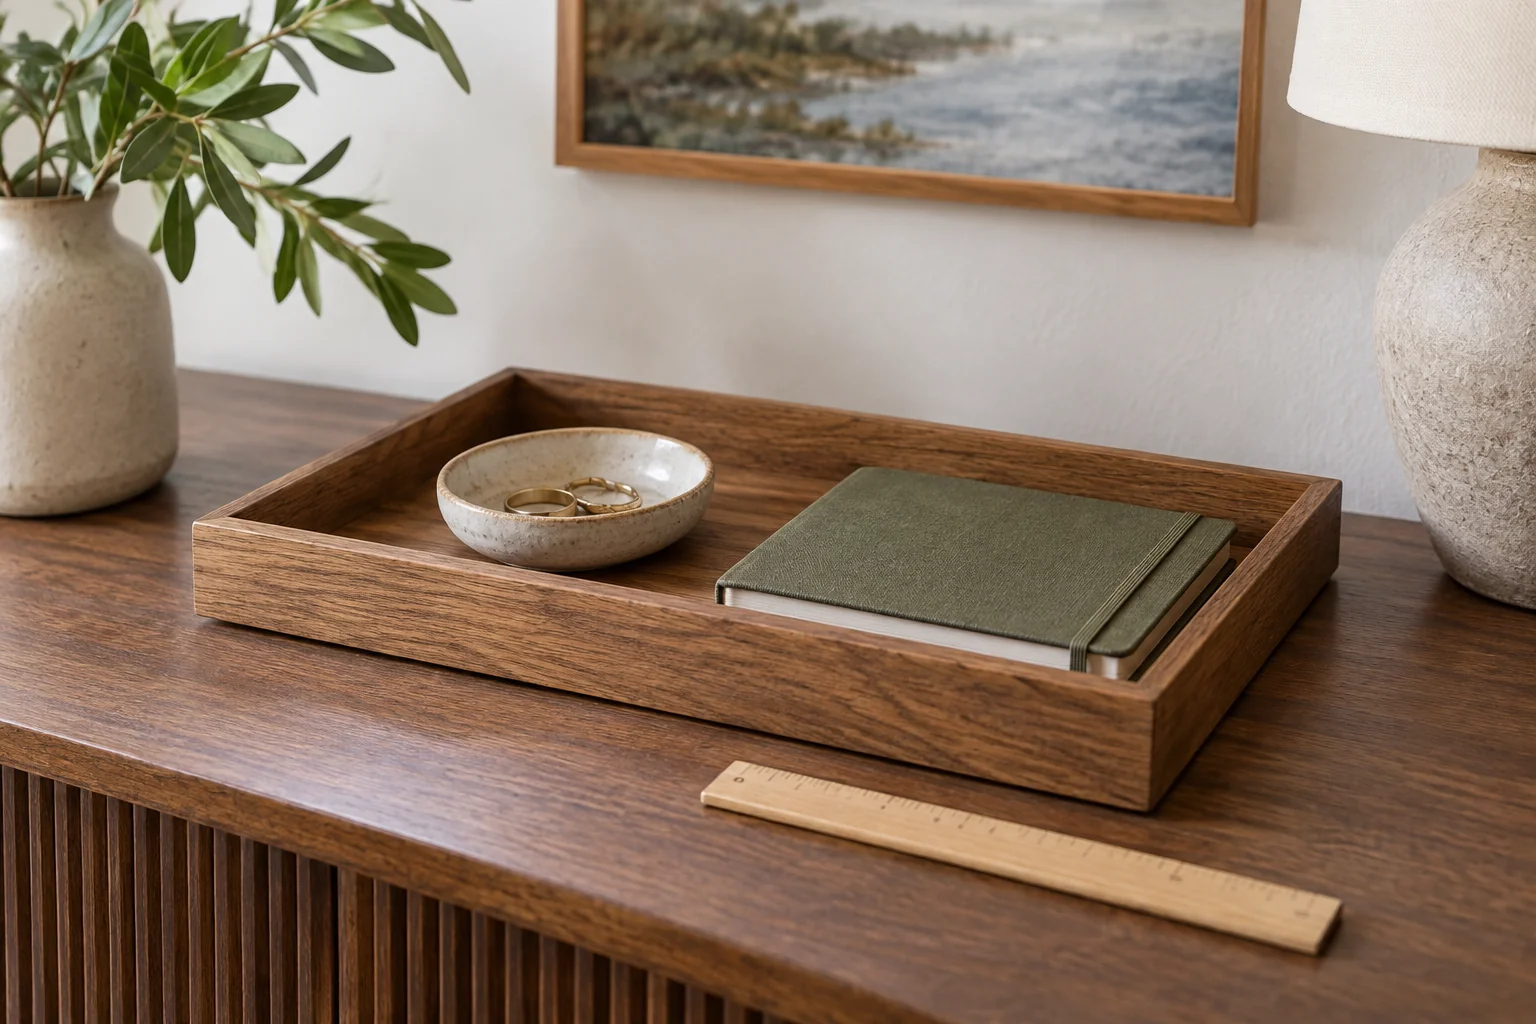
Choose a decorative tray by the flat, usable space inside its rim, not only the outside dimensions in a listing. Sloping sides, rounded corners and inward-projecting handles can leave less room for a dish, notebook or vase than the headline size suggests. Measure the objects first, then check their arrangement inside the actual boundary.
Also measure the tray’s outside footprint to confirm it fits the furniture. These are two different checks: the tray must fit its surface, and the objects must fit the tray. Neither measurement establishes a carrying capacity or protects the furniture finish by itself.
Start with the objects that will stay
Gather the actual items you want to group. Record each base footprint and its widest part above the base. A vase with a narrow foot can have a wider body that meets the tray’s rim; a handled cup needs more space than its circular base suggests.
Separate permanent objects from occasional additions. A tray used for a small dish and notebook every day should not be sized around an imagined large arrangement used once a year. If a remote belongs there, include the space needed to pick it up without knocking the decorative piece beside it.
Use empty, stable objects during the layout check. Keep flames, hot items and liquid-filled vessels out of an unverified arrangement. A decorative tray should be used only for purposes and conditions supported by its own product guidance.
Record three boundaries
First measure the full outside outline, including handles or feet that project. Second record the flat interior base. Third note where the interior becomes narrower at the height occupied by your objects. A rim that slopes outward may offer more room at the top while the base remains the limiting boundary.
IKEA’s TILLGÅNG product description, for example, describes angled edges and slightly raised corners. Such construction details illustrate why a listed length and width should not automatically be treated as a flat rectangular interior. The product page is not an interior-fit guarantee for your objects.
When shopping remotely, ask the seller for the usable flat inside length and width, the shape of the corners, and any handle intrusion. A top-down photograph with a ruler can clarify the answer. If the information is unavailable, leave the fit unconfirmed rather than subtracting an assumed rim thickness.
Make a paper layout at the usable size
Draw the confirmed interior outline on plain paper. Include rounded corners rather than drawing a rectangle that extends into them. Place paper outlines of the objects inside, or arrange suitable real objects on the paper on a stable surface.
Try the intended layout and at least one alternative orientation. Leave practical room to retrieve frequently used items. That room depends on the objects and user; a single prescribed gap is not necessary. The useful question is whether the arrangement can be used without lifting every neighboring object.
| Measurement | Record | Decision it supports |
|---|---|---|
| Outside tray | Full width, depth and projecting parts | Fits the console or shelf |
| Flat inside base | Length, width and corner shape | Objects stand within the boundary |
| Rim and handles | Height and inward projections | Wider object bodies remain clear |
| Object footprint | Base and widest relevant section | Real arrangement fits |
| Retrieval | Trial with intended user | Daily objects remain accessible |
Worked example: the outside size gives the wrong answer
Consider a fictional tray listed at 40 by 30 centimeters outside, with a confirmed flat interior of 34 by 24 centimeters. A 20-by-15-centimeter notebook and a 16-centimeter-wide dish would require 36 centimeters when placed side by side along their larger dimensions, even before retrieval room.
That layout exceeds the 34-centimeter interior, although it seems to fit the 40-centimeter listing. Rotating the notebook, choosing a smaller dish or using a different arrangement may work. The paper layout makes the problem visible without assuming the rim can support an overhanging object.
The figures are invented fit arithmetic, not dimensions of the linked product. Rounded corners may further limit a rectangular arrangement. Compare shapes rather than relying on a total area calculation that can hide an incompatible width.
Check the furniture and intended handling
Place the tray within the furniture’s usable surface without overhang. Follow the furniture and tray care instructions for contact materials and moisture. A soft-looking underside can still trap grit, and a raised rim does not prove that the tray is watertight.
If you expect to move the display, confirm the tray is intended to carry the particular contents. Decorative handles and an attractive base are not a stated load rating. Remove fragile or heavy objects individually when their supported carrying arrangement is unknown.
Finally, judge the display from the room’s usual seats and approach. The everyday coffee-table layout guide helps reserve space around the completed tray. Keep the inside-fit worksheet with the tray reference so future additions can be checked against real usable space instead of a remembered outside dimension.