Key takeaways
- Record room-lighting differences with a fixed white-balance setup, consistent framing and an honest photo-session worksheet for comparison.
What's inside
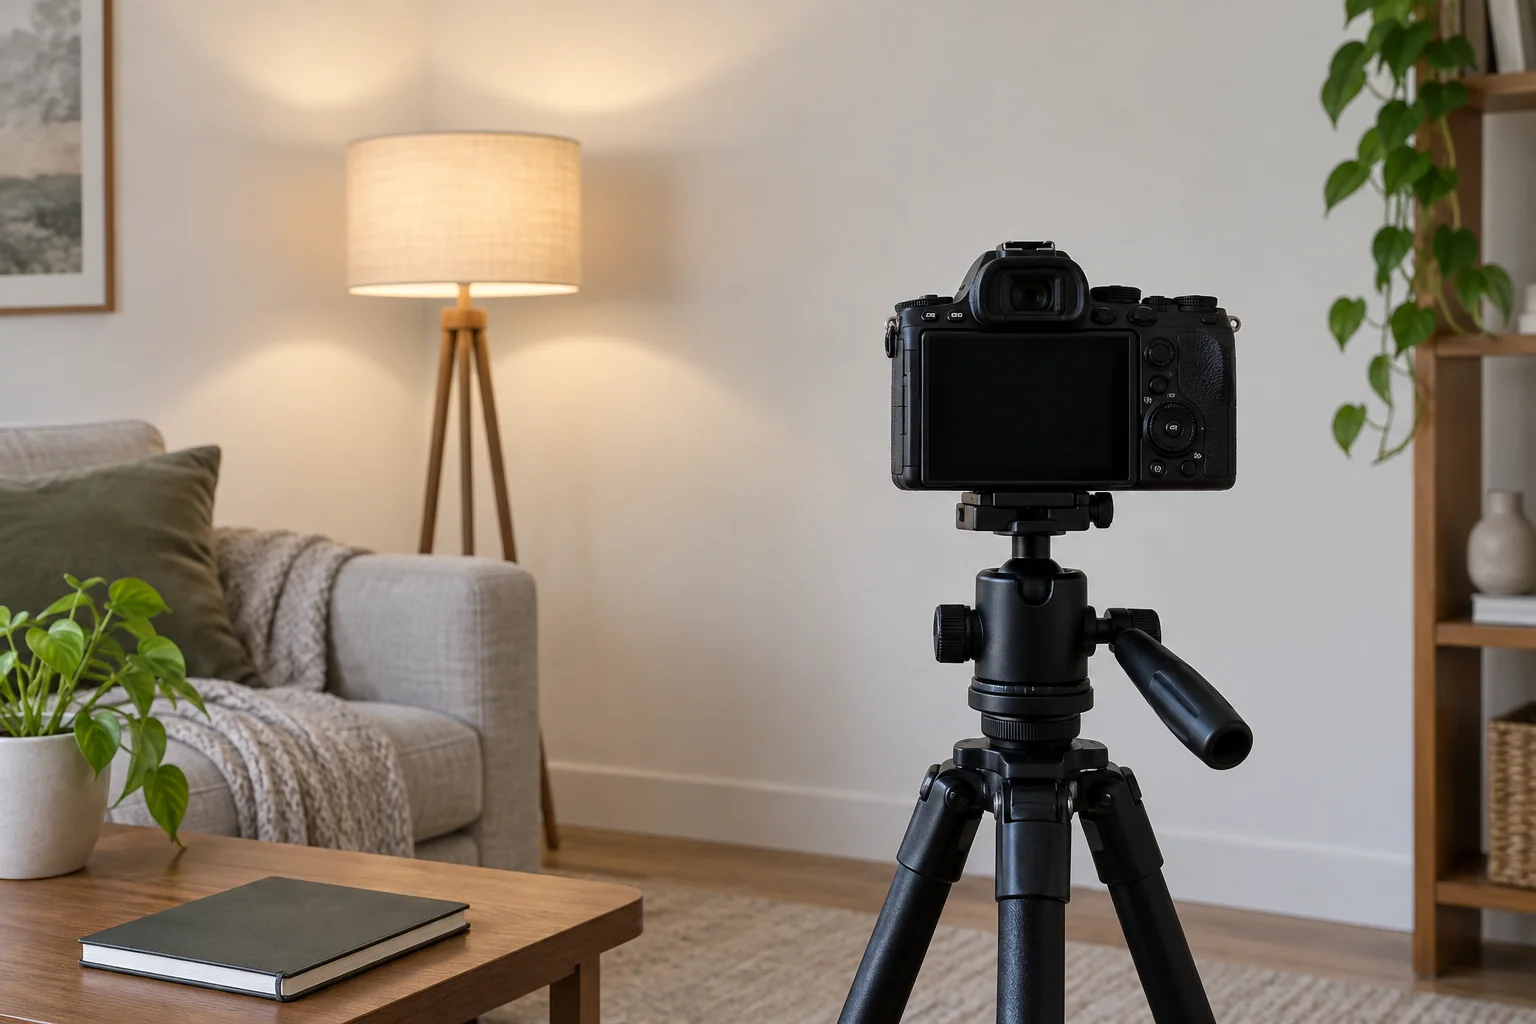
To photograph lighting differences without automatic white balance changing the comparison, use one supported manual or locked white-balance setting for the whole sequence. Keep the camera position, exposure choices and editing treatment consistent, and record what changed in the room. The photographs become a repeatable visual notebook rather than an undocumented series of attractive pictures.
This method does not turn a camera into a light meter, colorimeter or proof of a bulb’s specifications. It helps you document how a particular scene was recorded under stated conditions.
Decide which difference you want to record
Write a one-sentence question before touching the camera. For example: “How does this wall appear with Lamp A and Lamp B when the rest of the room stays unchanged?” That question suggests changing only the lamp condition. A different question about daylight across the afternoon requires a time record and accepts that daylight itself is changing.
Do not compare a close-up made at noon with a wide view made at night and attribute every difference to the bulb. List the variables you can keep fixed and those you cannot. A useful record can contain limitations; an unexplained comparison hides them.
Choose a setting the camera can retain
Nikon’s white-balance explanation describes automatic adjustment and manual options including named presets, Kelvin selection and a preset reading from a reference. Its examples show that white-balance choices change the recorded appearance. Available controls differ by camera or application, so locate the instructions for your device rather than copying a menu sequence from another model.
Select a setting that stays unchanged between shots and note its name or value. If using a custom reference reading, take it once for the planned sequence and retain it; making a fresh balancing adjustment under each lamp changes the comparison. There is no single Kelvin setting that makes every household scene objectively correct.
If the device cannot hold the relevant setting, record that limitation. A pleasing automatic result can still be a memory aid, but do not label it a controlled white-balance comparison. Avoid assuming that an exposure-lock button also locks white balance unless the device documentation confirms it.
| Field | What to save | Why it matters |
|---|---|---|
| Question | One intended comparison | Defines the changing variable |
| Camera setup | Device, lens, position and framing | Makes a repeat possible |
| White balance | Preset, value or saved reference | Shows what stayed fixed |
| Exposure treatment | Recorded settings and any changes | Separates brightness adjustments |
| Room condition | Lamp identity, curtains, time, other lights | Explains mixed illumination |
| File treatment | Original filename and common edit preset | Connects the image to its history |
Keep the scene and framing stable
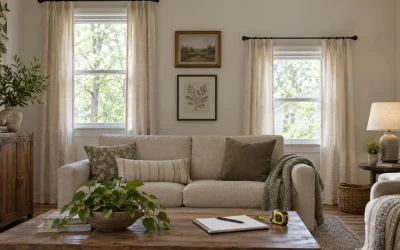
Place the camera securely where it can see the same wall and objects throughout the sequence. Mark the position in your notes or use a recognizable fixed reference. Keep bags and tripod legs out of the walking route. A nearby lamp should remain in its normal supported position with its cord arranged appropriately.
Record curtains, other lights and visible daylight. Switch only the condition being compared, where the equipment permits normal user operation. This is a photography workflow, not an instruction to open a fixture, change electrical wiring or override a dimmer’s operating limits.
Review framing before the first useful image. A bright window entering only the second frame can change the apparent balance of the scene even when the recorded white-balance setting stays fixed. Avoid adding or removing large colored objects between shots.
Treat exposure as a separate decision
If your purpose is a fixed-exposure record, retain the chosen exposure settings when practical and save them with the images. Check the preview for areas that lose all useful detail. If a setting needs adjustment, start a clearly labeled new sequence instead of silently changing it halfway through.
If you deliberately adjust exposure to make each photograph similarly bright, label that method. Such pictures may help discuss color appearance but should not be presented as evidence that the lamps produce equal brightness. Likewise, automatic enhancement can make two images look more similar or more dramatic than the original files.
Worked example: two reading-lamp conditions
In a fictional session, a household records the same chair and wall under two compatible lamp conditions. The camera remains on its support, the chosen white balance stays fixed, and the curtains and other lights remain unchanged. Files A and B receive the same editing treatment.
A third photograph is made after someone opens the curtains. It is retained as a separate daylight condition, not included in the A-versus-B pair. The notebook explains that change, preventing a later viewer from treating the extra daylight as a property of Lamp B.
Share the method with the pictures
Keep original files and export copies together. Caption the pair with the settings that were held constant and the room condition that changed. View both on the same display without changing its viewing mode during the comparison, while recognizing that another display may render them differently.
The strongest conclusion is modest and useful: these images show this room, recorded with this setup, under these two conditions. Use the photographs alongside your direct observation and the manufacturer’s specifications, rather than asking them to prove a color temperature, efficiency claim or measured lighting performance.