Key takeaways
- Plan a mixed-frame group using outside dimensions, a shared reference line and paper templates, with a worked three-frame layout.
What's inside
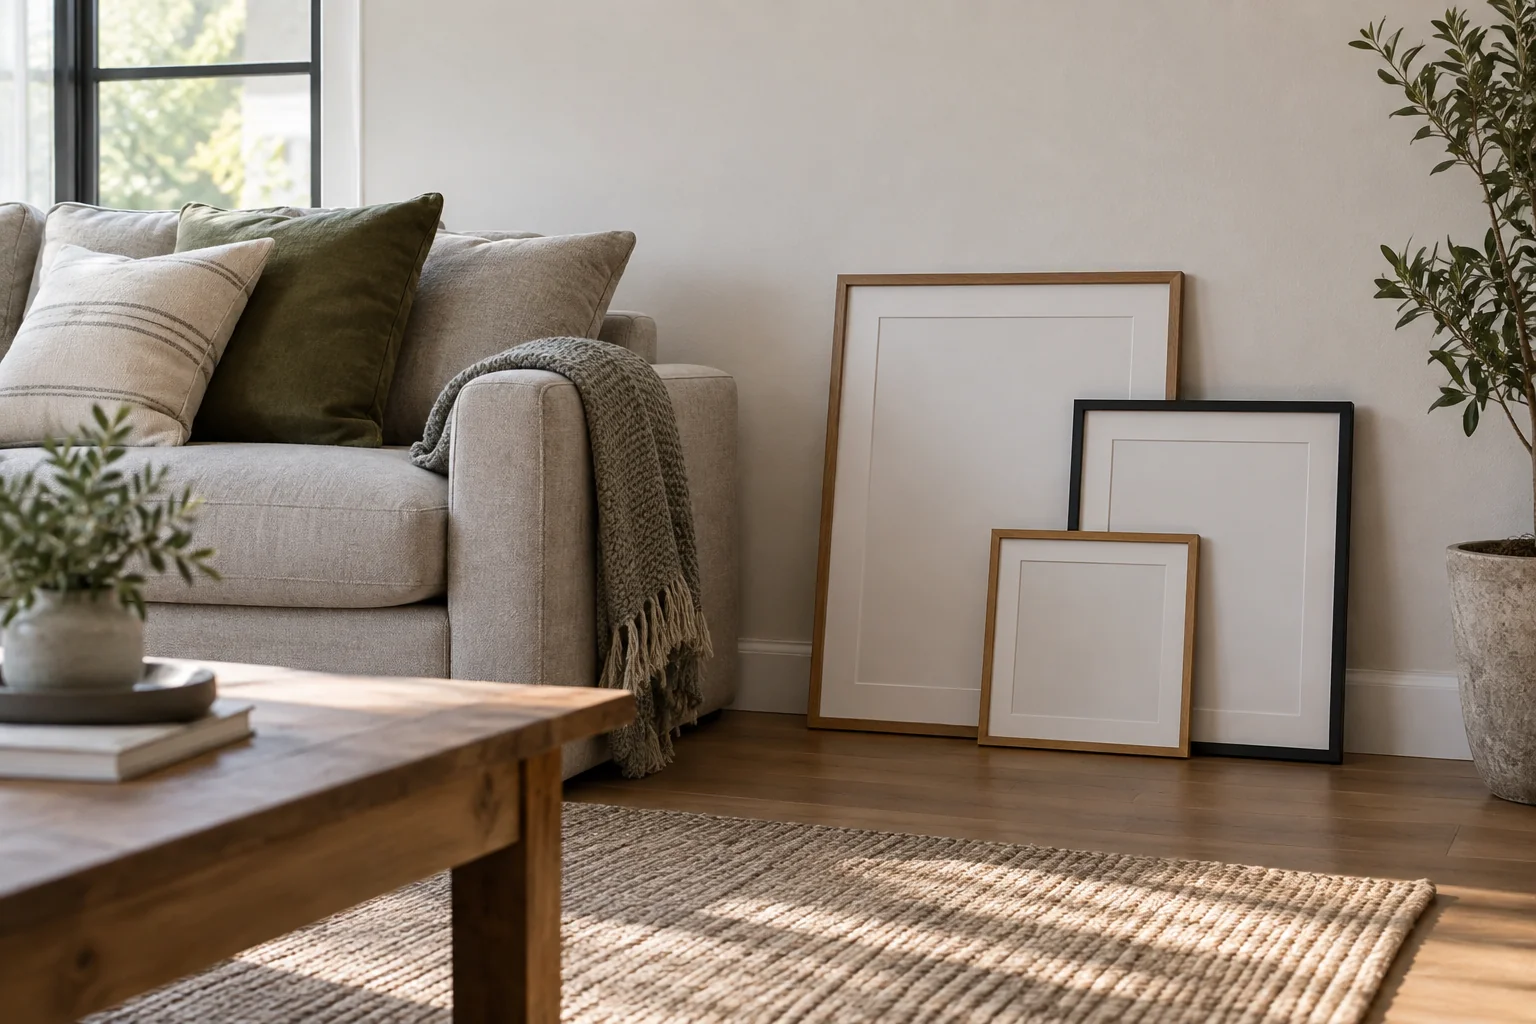
Align mixed frame sizes above a sofa by choosing one visible reference line, measuring the outside of every frame, and checking the entire group against the sofa before marking any fixing positions. Different frame heights do not require a random arrangement. A shared bottom edge, shared centerline or deliberately stepped composition can make the differences feel intentional.
Start with frames you actually own. A print sold as 8 by 10 inches may sit inside a substantially larger frame, and a wide mat changes the visual weight without changing the picture itself. This guide uses an original layout worksheet and a three-frame example to separate composition measurements from hanging hardware measurements.
Choose the reference that matters in this room
Mark the sofa’s position on a sketch, including its arms rather than only the seat cushions. If the sofa is staying where it is, use its midpoint as the first reference for the group. If you expect to move it shortly, settle that decision first. A picture group centered on an old furniture position can look misplaced after a modest rearrangement.
Now choose one alignment rule. A common bottom edge creates a continuous line above the sofa. A common centerline places taller pieces both above and below shorter ones. A common top edge creates an even upper boundary but leaves a stepped lower edge. None is compulsory; choose the version that fits the available wall and the artwork.
Record outside dimensions and orientation
Lay the frames on a protected surface and give each a letter. Measure outside width and height in the orientation you intend to use. Note deep frames, projecting fittings and pieces that must remain portrait or landscape. Do not rotate a frame merely because it makes the arithmetic convenient if its hanging arrangement is not designed for that orientation.
| Frame | Outside width × height | Chosen alignment | Extra observation |
|---|---|---|---|
| A | Measure the complete frame | Bottom, center or top | Largest visual feature |
| B | Measure separately | Use the same group reference | Wide mat or dark border |
| C | Measure separately | Use the same group reference | Portrait or landscape restriction |
| Whole group | Widths plus intervening gaps | Midpoint relative to sofa | Nearby lamp, corner or switch |
Leave a separate column on your own sheet for the actual hanging-point offset. That offset belongs to installation planning; it is not the frame’s visual center. Two frames with identical outside heights can have different fixing positions.
Use a paper layout before choosing hardware positions
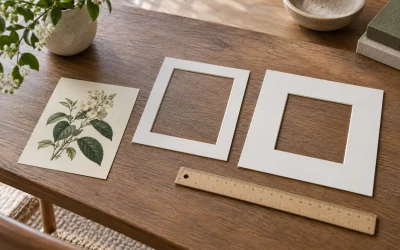
IKEA’s picture-hanging guide describes tracing frames onto paper, recording the position of the hanging point and trying arrangements before hanging. Use those templates to see the outside boundaries. Test any temporary adhesive on a suitable inconspicuous surface first, and keep actual frames safely supported while comparing layouts.
Begin with one gap size between neighboring frames, then examine the result. A gap is measured between the outside edges, not between the pictures inside the mats. If the dark frame looks crowded while a pale frame appears detached, try swapping positions before changing every gap. This keeps the experiment understandable.
A worked three-frame arrangement
This fictional example has a 210-centimeter sofa and frames measuring 40 by 50, 30 by 40 and 20 by 30 centimeters. With two 6-centimeter gaps, the group is 102 centimeters wide: 40 + 30 + 20 + 6 + 6. Centered above the sofa, that leaves 54 centimeters between each sofa end and the corresponding group edge. These are example choices, not recommended universal proportions.
For a shared bottom edge, the frame tops step upward according to their different heights. For a shared centerline, the 50-centimeter frame extends 25 centimeters above and below the line, the 40-centimeter frame extends 20, and the 30-centimeter frame extends 15. The latter arrangement puts the tallest frame’s bottom 10 centimeters lower than the shortest frame’s bottom.
That difference matters if the sofa back, a cushion or someone’s normal movement approaches the artwork. The household prefers the common bottom edge after viewing both templates from its usual seats. The arithmetic narrowed the choice; it did not establish a mandatory hanging height.
Check visual balance from the places people use
Look from the doorway, the opposite chair and both ends of the sofa. A large dark picture on one side can make a geometrically centered group look heavier there. Photograph two candidate arrangements from the same position, then compare them at the same scale. Keep the sofa and lighting unchanged so you are judging one variable.
Check nearby table lamps and the space needed to operate curtains or switches. Leave access to anything that must remain reachable. A successful arrangement should still work when cushions return to their normal positions and someone sits against the sofa back.
Keep the final layout separate from the fixing decision
Once the arrangement is settled, label each template with its frame letter, orientation and hanging-point information. Select fixings appropriate to the frame, its weight and the actual wall construction. A decorative layout does not establish fixing capacity, and a paper template cannot identify concealed services.
Save a photograph and the group width in your household notes. If a frame changes later, replace its template and recheck the reference line before making more holes. You will have a repeatable layout rather than a collection of measurements that only made sense on hanging day.